How to Do Heart Eyeliner for Valentine’s Day

Valentine’s Day is the perfect excuse to get a little playful with your makeup. This year, why settle for ordinary eyeliner when you can add a sweet twist with heart-shaped accents? Heart eyeliner is fun, flirty, and surprisingly easy to master once you know the steps. Whether you’re going on a romantic date, taking cute selfies, or just want to treat yourself to something festive, this look is bound to turn heads.
Step 1: Prep Your Eyes for Smooth Application
Before you even pick up your eyeliner, prepping your eyelids is key. A smooth base ensures your heart eyeliner stays sharp and lasts all day.
- Cleanse and moisturize: Make sure your eyelids are free of oils and residue.
- Apply primer: This helps your liner glide on effortlessly and prevents smudging.
- Optional eyeshadow: A soft, neutral shadow can create depth without stealing attention from the heart detail.
Pro Tip: Use a matte primer if your eyelids tend to get oily—it keeps the liner crisp.
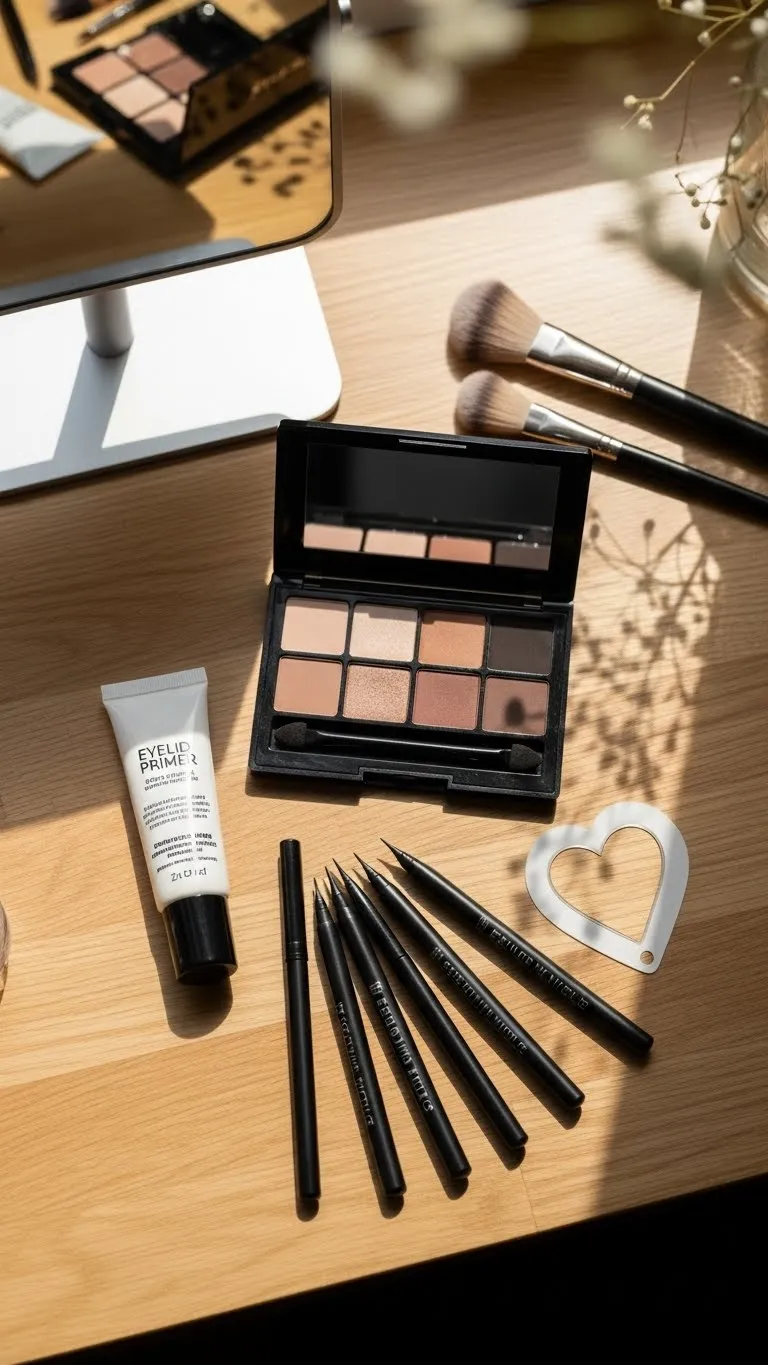
Step 2: Choose the Right Eyeliner
Not all eyeliners are created equal, especially for creating tiny heart shapes.
- Liquid liner: Ideal for precise lines and sharp edges.
- Gel liner with a fine brush: Offers smooth control and a slightly softer finish.
- Colored options: Classic black is timeless, but red or pink can make your hearts pop for Valentine’s Day.
Pro Tip: Keep a few cotton swabs and a bit of makeup remover nearby to fix any mistakes without starting over.
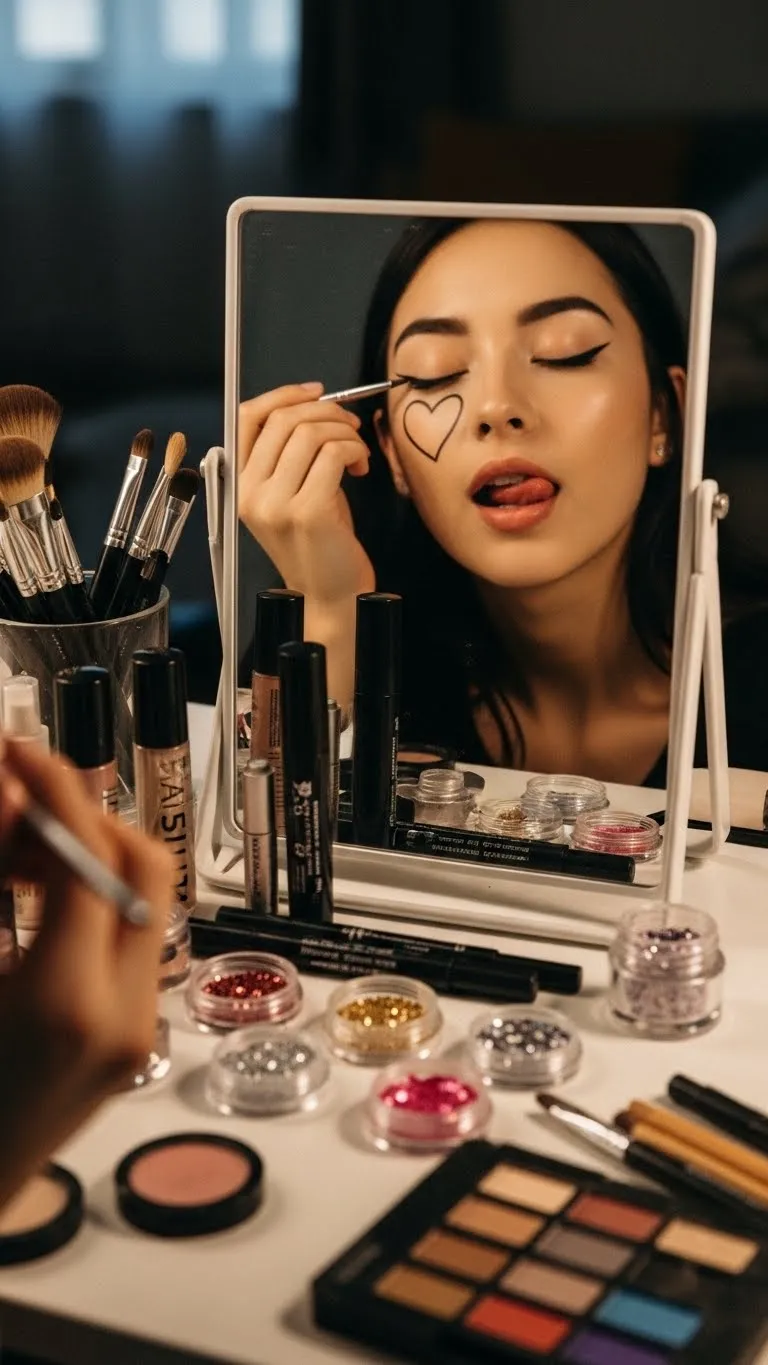
Step 3: Map Out Your Heart
The secret to perfect heart eyeliner is a small, simple guideline. Think of your heart as two tiny curves coming together at a point.
- Start with the bottom tip: Lightly mark the point where you want the heart to sit. Usually, the outer corner of your eye works best.
- Draw the curves: Create two small arcs that meet at the tip.
- Connect the top: Finish the heart shape by joining the arcs smoothly.
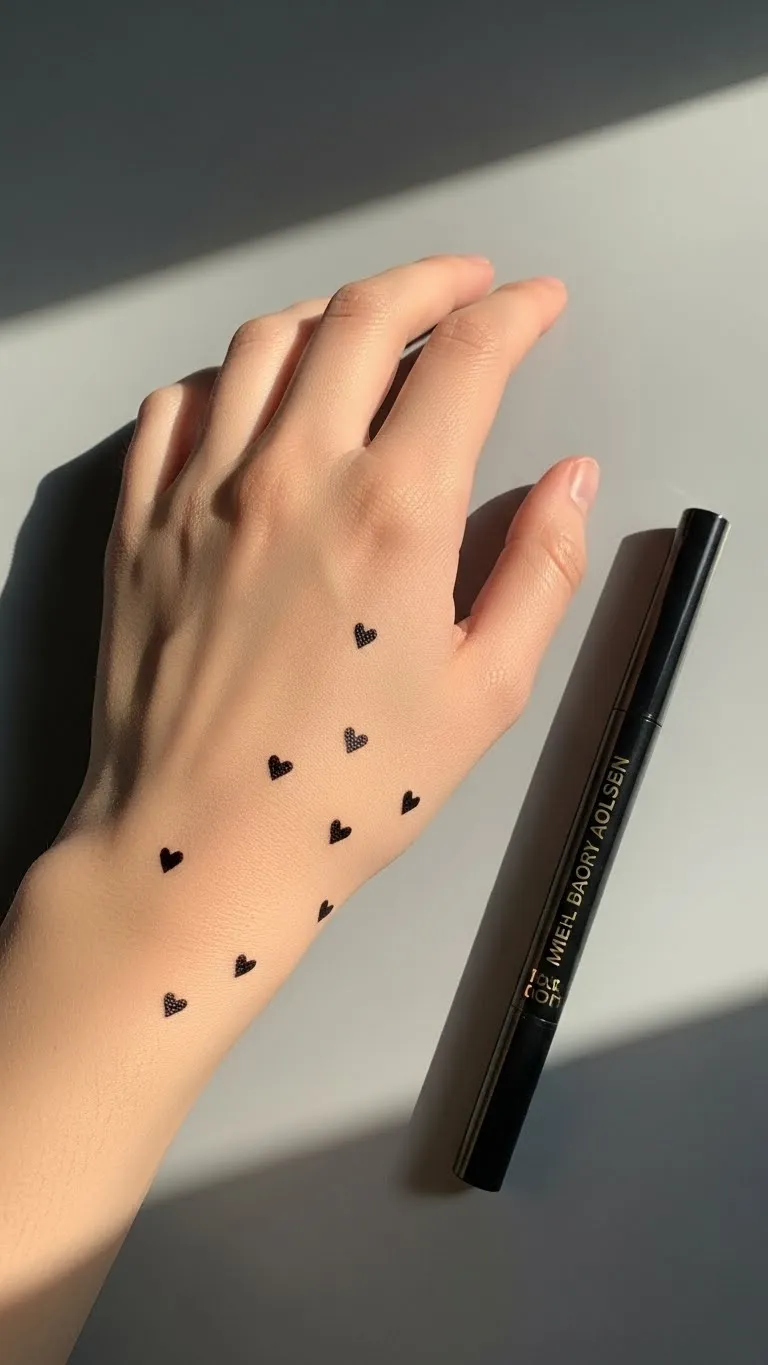
Pro Tip: If you’re new to hearts, practice on the back of your hand first—it’s way less stressful than doing it directly on your eyelid.
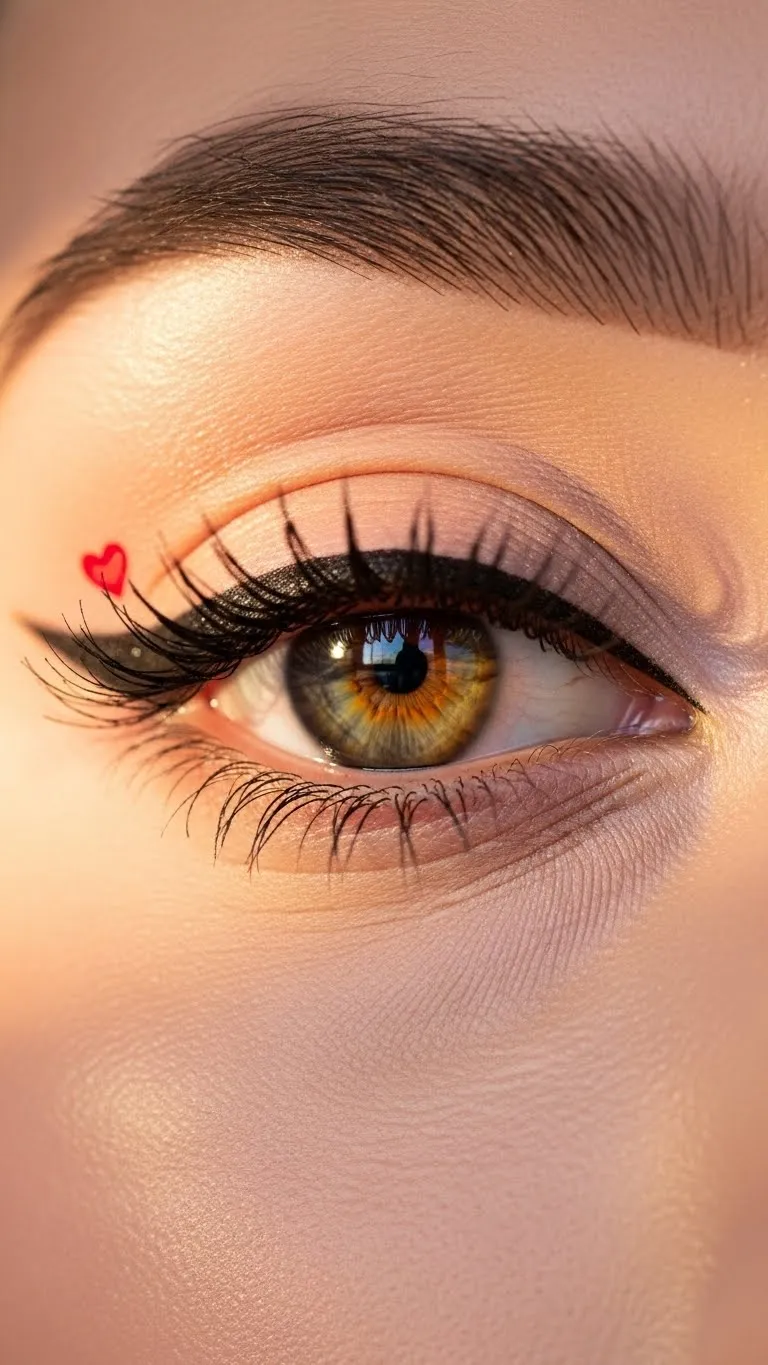
Step 4: Apply the Heart Eyeliner
Now comes the fun part—turning your guidelines into a wearable look.
- Step 1: Draw a tiny wing as your base if you like a classic eyeliner effect.
- Step 2: Fill in your mapped-out heart with careful strokes.
- Step 3: Smooth out any jagged edges using a pointed cotton swab or eyeliner brush.
Pro Tip: Keep your hand steady by resting your elbow on a table. A stable hand makes tiny details like hearts much easier.
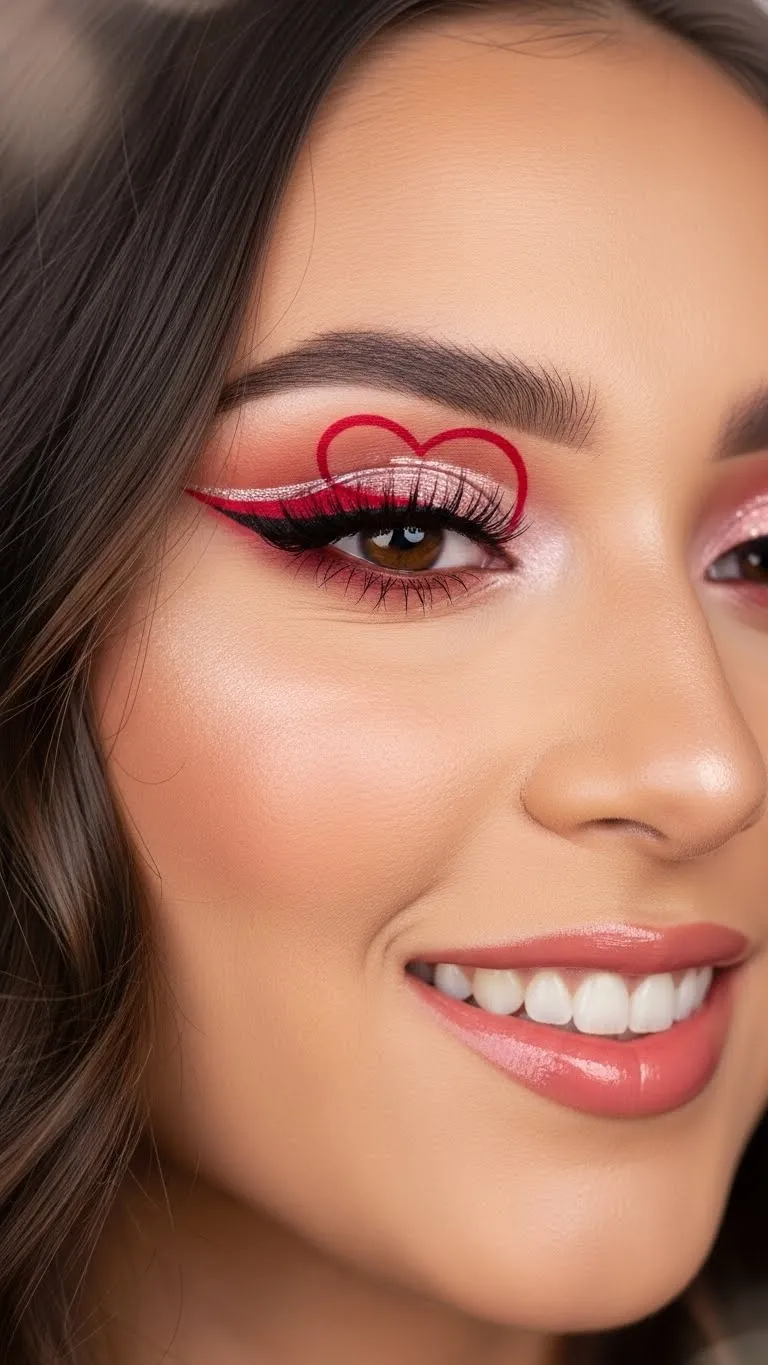
Step 5: Add Finishing Touches
A few small finishing touches can make your heart eyeliner look polished and professional.
- Mascara: Add volume to your lashes to frame your hearts beautifully.
- Highlight: Dab a tiny bit of shimmer in the inner corner of your eye to make your eyes pop.
- Optional accents: Small rhinestones or glitter can be placed near the heart for extra sparkle.
Step 6: Practice Makes Perfect
Like all fun makeup tricks, heart eyeliner looks best with a little practice. Don’t stress if it’s not perfect the first time—each attempt will get easier and faster.
- Keep practicing with different heart sizes and placements.
- Experiment with colors and glitter to make the look your own.
- Remember, Valentine’s Day is all about love and fun—your makeup should reflect that joy.
Takeaway
Heart eyeliner is a cute, flirty way to celebrate Valentine’s Day and express your creativity. With the right tools, a bit of patience, and these simple steps, you can create a look that’s both romantic and playful. So grab your favorite eyeliner, experiment with heart shapes, and don’t forget to snap a few selfies—you’ve earned it!